NORDIC FITNESS CANADA
  • Home
  • Nordic Pole Walking +
    • Nordic Walking Videos
    • Clinical Studies
    • Benefits
  • Shop
  • Events
    • Clinics and Workshops
    • Instructors Certification Course
    • Wakefield Trails Fundraising
    • Maplesoft Cancer Coaching Center
    • Canada Day
    • Key to Wellness
  • Contact
  • smovey
  • Voxxlife Socks Insoles
  • Pickleball
  • About

Learn to Nordic Walk

View the videos to learn how to Nordic Walk to achieve optimal Health Benefits!


Nordic Pole Walking is a highly recommended low-impact exercise to improve fitness and overall health.
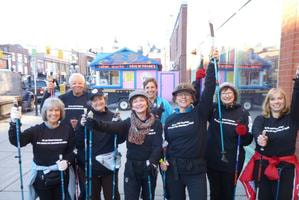
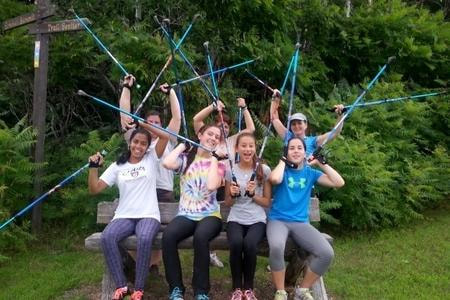
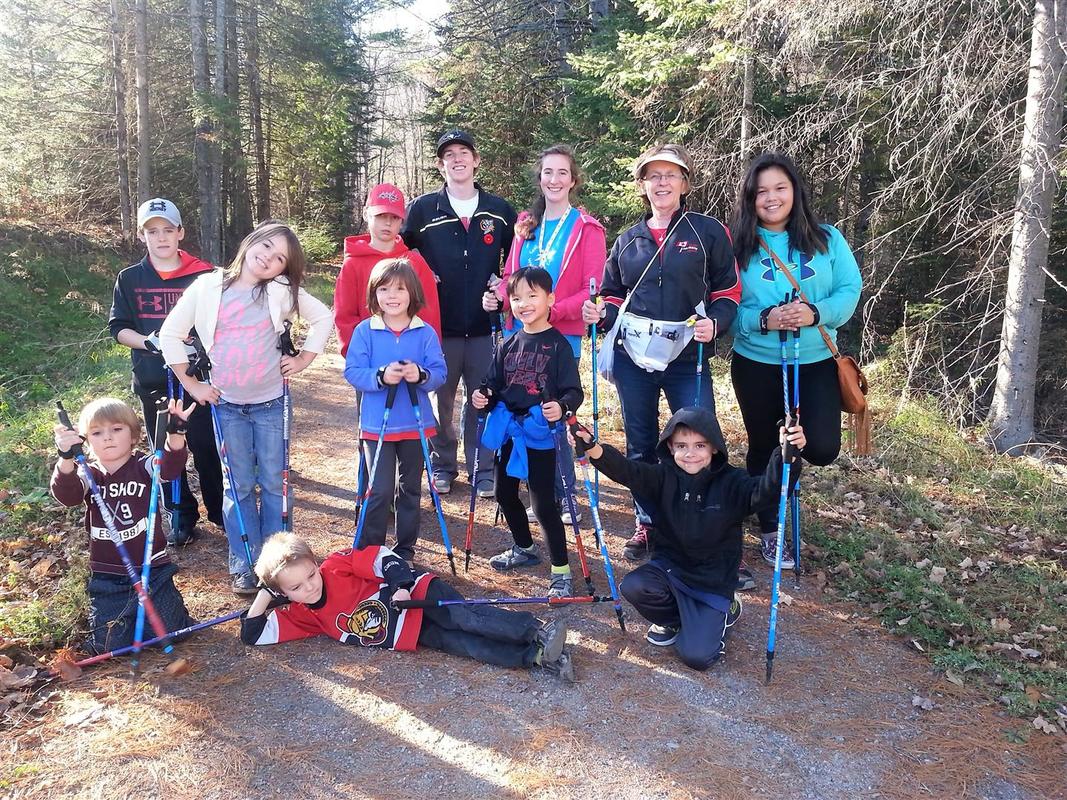
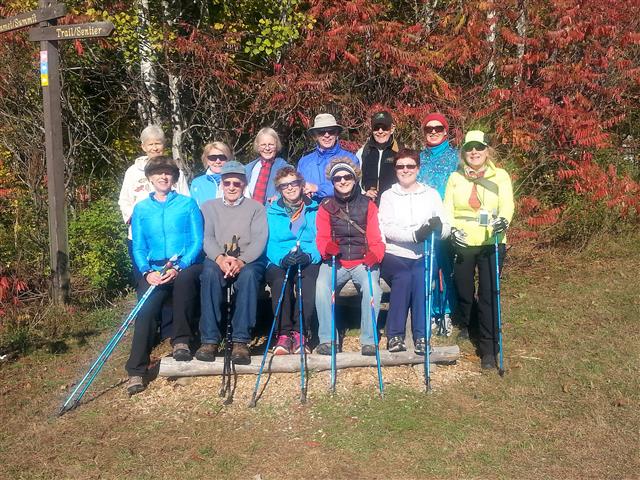
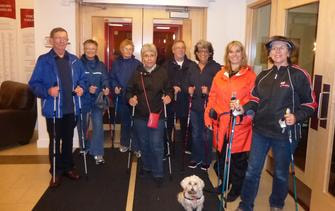
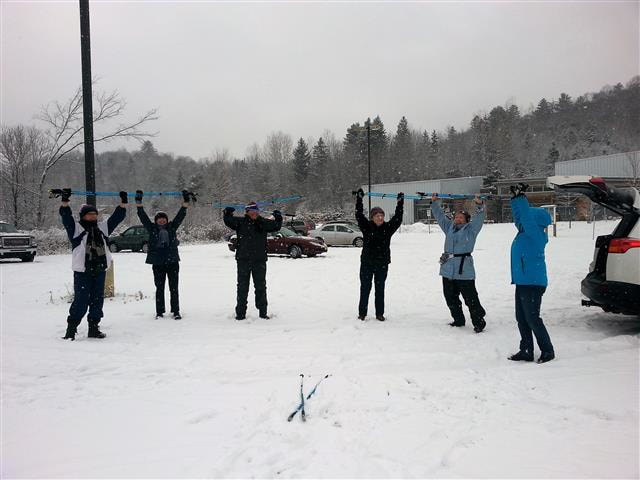
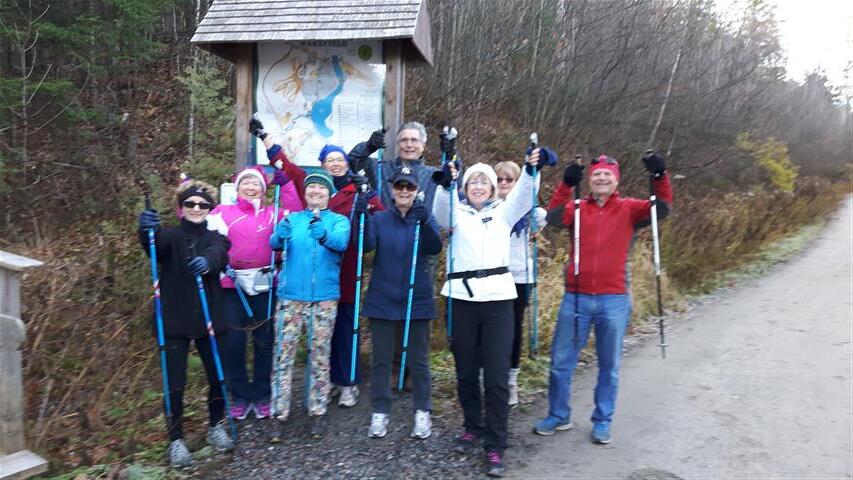
Nordic Pole Walking is a low-impact, easy to learn, and enjoyable exercise for people of all ages and fitness levels. There are approximately 350 scientific and clinical studies pointing to the health benefits of Nordic Pole Walking. Click here for more information on the clinical studies using Nordic Pole.

Nordic walking poles are very different from hiking, trekking poles, ski and urban poles. Learn why here.  Nordixx Nordic Poles are adjustable, ultra light, has the nordic wrist glove/strap and fits each individual to engage more than 90% of all body muscles.

Are you using the Nordixx Pole Walking Hand Loops correctly? These Hand Loops (glove or nordic strap) are your power transfer to the Poles. Slip into each hand loop like you are shaking hands with the poles and adjust the Velcro strip so you feel comfortable. Stretch your arms in front. Open and close your hands and you will realize that you automatically grasp the grip when you close your hands. Now you are using the Hand Loops correctly and are ready to start Nordic walking.


Nordic Walking Tips     from  https://www.nordixx.com/pages/teaching-the-technique/

Preparation: Adjust the telescope poles to your body height.
Wellness Walker - for those who are looking for a casual walking exercise ad a moderate pace. Adjust poles to the optimal length to your body height. Have your elbow and forearm bedside your body in a 90 degree angle and drop your hands 2 inches down and take the grip of the pole.This is the best length for you ( = 65% of your body height) to learn a natural pole walking technique. Then adjust the poles by twisting the upper and lower part of the Nordic Poles in the opposite direction.
Active Walkers - for those who are looking for a strong physical activity and a more powerful walking stride, have your elbow and forearm bedside your body in a 90 degree angle.
The rubber feet.  If you walk on a  hard surface put the rubber tips on the poles. If you walk on soft surface take the rubber tips off.  
The Nordic Pole Walking Hand loops transfer your power to the Poles. There is a right and a left hand loop. Slip into the hand loops like you shake hands with the poles and adjust the strip so you feel comfortable. Stretch your arms in front. Open and close the hands and notice that you automatically close the hands as you grasp the grip. Now you are ready to start.  

Learn the Nordic Pole Walking Technique

Step 1: The tips of the poles are always behind your body
Keep your arms hanging loose at both sides of your body. Keep your upright body position and start walking slow without swinging your arms. Keep your hands open. The poles drag on the ground. It might feel a little strange to walk without swinging the arms. Walk this way for 100 - 300 yards.

Step 2: Train a natural Walking Rhythm and Arm Swing
Now, when walking with passive hanging arms go a little faster. Keep your hands open and feel how your poles follow your natural arm swing adjusted by the hand loops.  Automatically your right arms swings forward when your left leg moves forward and vice versa. You need not to think about this just walk. In  case you have problems with the cross coordination (ie: you swing your right arm and you right leg forward at the same time) start over again with step No. 1, after a few minutes you will have solved this problem.  

 Step 3: Feel the Support of your Nordic Poles
Keep your hands open. Walk upright and relaxed. By walking a little faster you feel the resistance of your poles by pushing slightly to the ground. Walk relaxed for another 500 yards. Stay with your rhythm of the arm swing. Stay upright and be relaxed. You feel like you are walking proud and in a natural style. By walking so now enhance the back-swing of your arms and you feel how the resistance to your arms and shoulder muscles increase, because your pole tips dig a little harder to the ground. You can still drag the poles up to this exercise.   
Step 4: Now feel the Power of your Nordic Poles
After having experienced the resistance the poles already give to your arms with open hands, then grasp the handle of your poles when you swing your arms forward. Now stay with your walking rhythm and push the poles to the ground with a slight pressure. Your arms and your Nordic Poles are the engine, that propels your forward. Instantly you will feel that the resistance to your arm and shoulder muscles increase. Here you stop dragging the poles.  The poles will  lift  while swinging forward with a slight support of your finger tips. Now keep walking for approx. 30 minutes  and experience the power of your poles.  Walk on with your nice upright body posture and walk in a speed that is not too slow  but comfortable for you. Having achieved this step of the technique you will feel great. You now feel what Nordic Pole Walking will do for you!  

 STEP 5:  Bring all Upper body Muscles into the Nordic Walk
After becoming familiar with Nordic Pole Walking now let's work to involve all your upper body muscle into the technique. Start walking as you did before for about a mile or 2KM or 15 minutes. You walk with an upright body posture and with a nice walking rhythm. Now relax your core muscles and start to rotate your shoulders and the upper body with each arm swing forward and backward in the same rhythm you walked before. Always the shoulder of the opposite leg swings forward and the shoulder over the forward moving leg swing backwards just the natural way of walking, you do everyday. This rotation keeps you in balance. With the back swing of your shoulders swing your arm as far back as you can. For the Nordic Pole Walking training you do this rotation very consciously in the beginning. All core  and back muscles and even the deep lying muscle close to the spine get involved and strengthened. Keep moving with a very conscious rotation of the upper body with each stride. Now the whole body is in a nice walking swing and rhythm. Keep on walking for another half or full KM and concentrate on the upright body posture and the upper body swing-rotation.
 
 Step 6:  Tension and Relaxation of your Arm and Shoulder Muscles
When pushing the poles to the ground have a firm grip. In the moment your hand passes your hip backwards relax the grip. This might need some coordination skills for you. Start doing this with your dominant hand. Later incorporate the other hand. Increasing speed begins with a harder push to your poles backwards. The harder you push backwards the more your poles propel you forward. Your strides become a little longer. Do not reach out with your legs to enlarge your stride.This comes automatically by pushing the poles. Reaching out the strides leads to a stretched (locked!) knee in the moment your heel touches the ground. Don't walk like a soldier in a parade. This enhances more pressure to your knees. Avoid this. When doing it right, your knee is naturally slightly bent with the touchdown of your heel to the ground. This reduces the impact on the knee and hip joints up to 30% in comparison to slow jogging.

Home
Shop
Site powered by Weebly. Managed by Web Hosting Canada
  • Home
  • Nordic Pole Walking +
    • Nordic Walking Videos
    • Clinical Studies
    • Benefits
  • Shop
  • Events
    • Clinics and Workshops
    • Instructors Certification Course
    • Wakefield Trails Fundraising
    • Maplesoft Cancer Coaching Center
    • Canada Day
    • Key to Wellness
  • Contact
  • smovey
  • Voxxlife Socks Insoles
  • Pickleball
  • About